CSV形式にOutlookから連絡先をエクスポートする方法を学ぶ方法を探していますか? あなたは正しい場所に来ました。
異なるバージョンのOutlookには異なる設定があり、連絡先をCSV形式にダウンロードしてエクスポートするには異なる手順が必要です。
この記事では、以下のバージョンのOutlookから連絡先をエクスポートする方法を紹介します:
- Microsoft Outlook2007
- Microsoft Outlook2010
- Microsoft Outlook2013、2016
- Microsoft Office365/Outlook.com
Outlook2007から連絡先をエクスポートする方法
ステップ-1:microsoftアカウントを開き、左上のファイルオプションを選択し、インポートとエクスポートオプションを選択します(インポートとエクスポートウィザード画面が
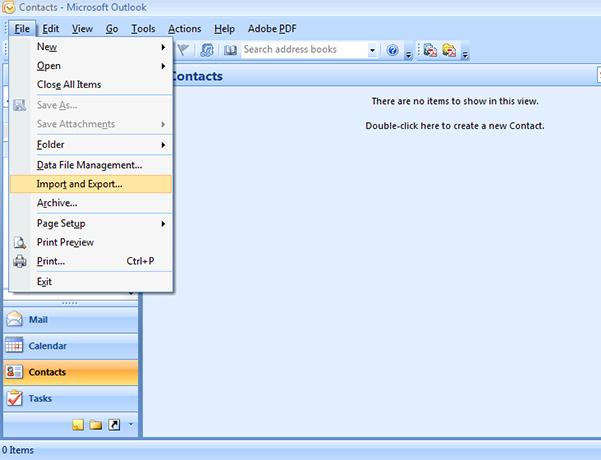
ステップ-2:「ファイルをエクスポート」オプションを選択し、「次へ」をクリックします(ファイルへのエクスポート画面が表示されます)。

ステップ-3:選択”連絡先”オプションをクリックし、”次へ”.

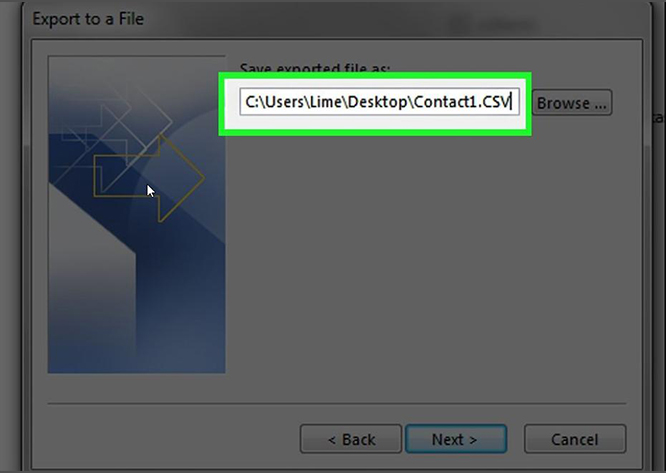
ステップ-4:「参照」をクリックして、CSVファイルを保存するフォルダを選択し、「次へ」をクリックします。 その後、実行されるアクションを確認するために確認ボックスがポップアップ表示されることがわかります。
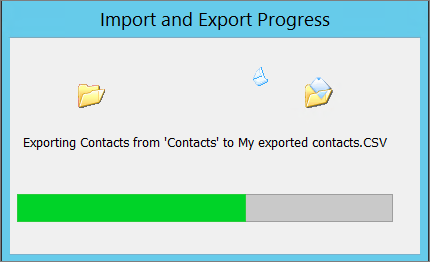
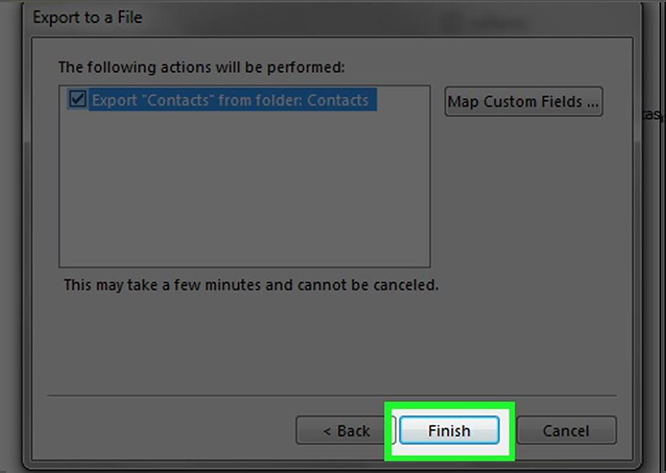
ステップ-5: 「完了」をクリックすると、Outlookアカウント内のすべての連絡先がCSVファイルにエクスポートされます。
Microsoft Outlook2010から連絡先をエクスポートする方法
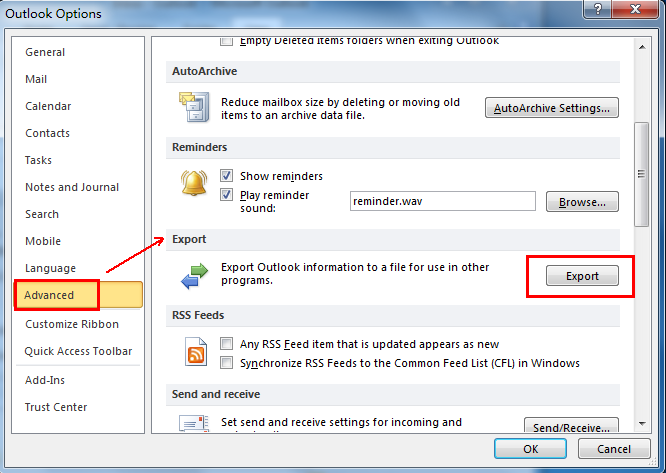
ステップ-1:Microsoft Outlookを開き、[ファイル]を選択します>オプション
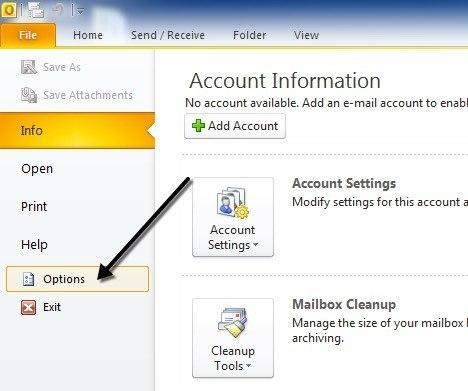
ステップ-2:選択”高度な”オプションをクリックし、”エクスポート”.
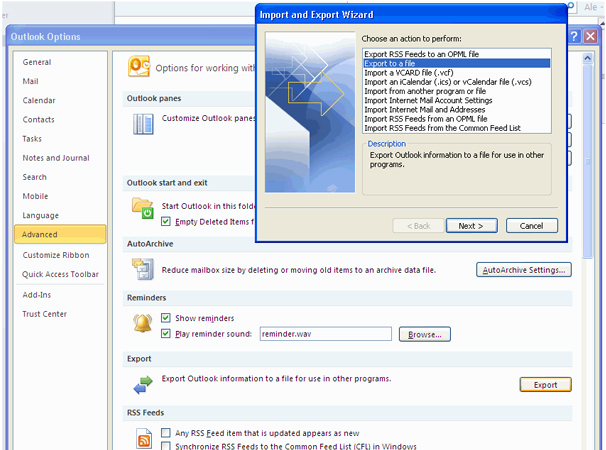
ステップ-3: “ファイルにエクスポート”をクリックし、”次へ”をクリックします。
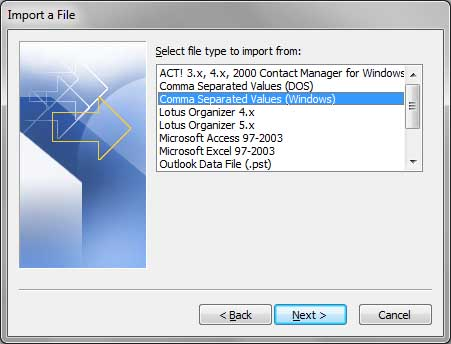
ステップ-4:タイプのファイルを作成する下の”カンマ区切り値(windows)”を選択します。
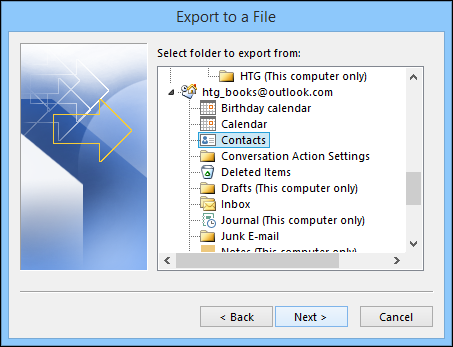
ステップ-5:選択”連絡先”オプションをクリックし、”次へ”.
ステップ-6:「参照」をクリックして、CSVファイルを保存するフォルダを選択し、「次へ」をクリックします。 その後、実行されるアクションを確認するために確認ボックスがポップアップ表示されることがわかります。

ステップ-7:「完了」をクリックすると、Outlookアカウント内のすべての連絡先がCSVファイルにエクスポートされます。

Microsoft Outlook2013,2016から連絡先をエクスポートする方法
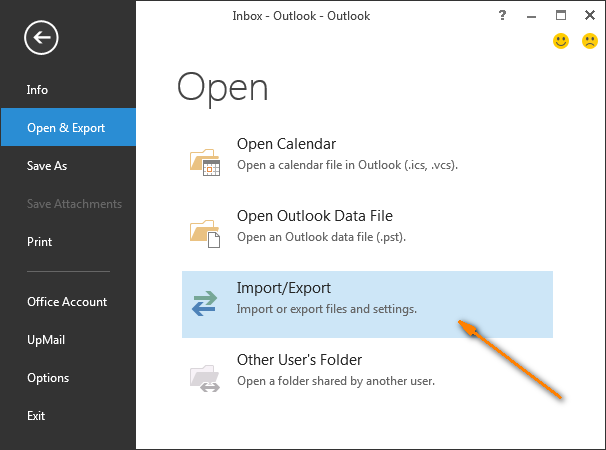
ステップ-1:Outlookメニューを開きます。 “ファイル”オプションを選択し、”開く&エクスポート”オプションをクリックします。 そこに”インポート/エクスポート”を選択します。
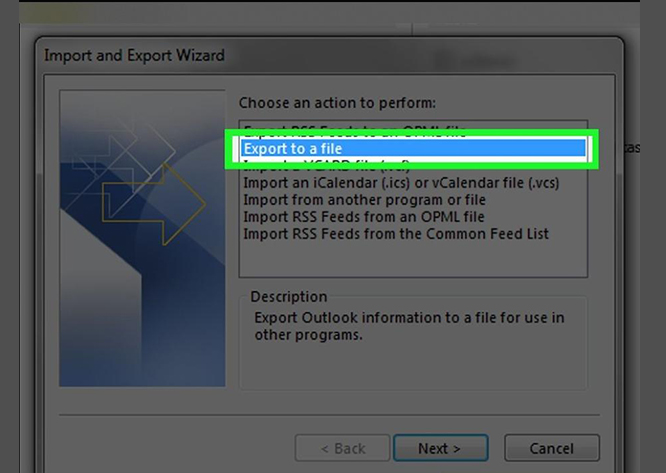
ステップ-2:選択”ファイルにエクスポート”オプションをクリックし、”次へ”.
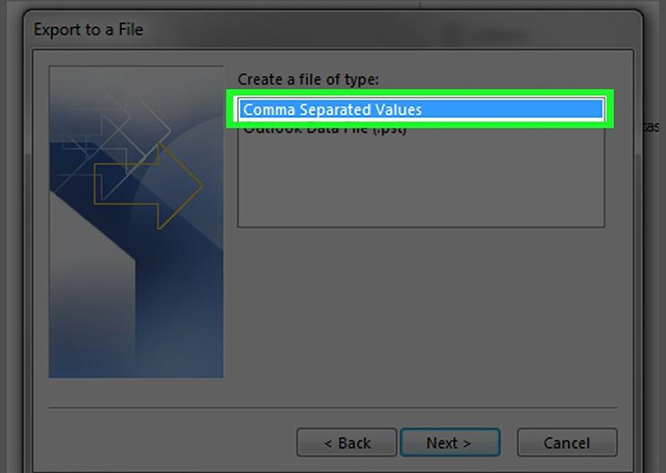
ステップ-3:”タイプのファイルを作成する”オプションの下に”カンマ区切り値”を選択します。
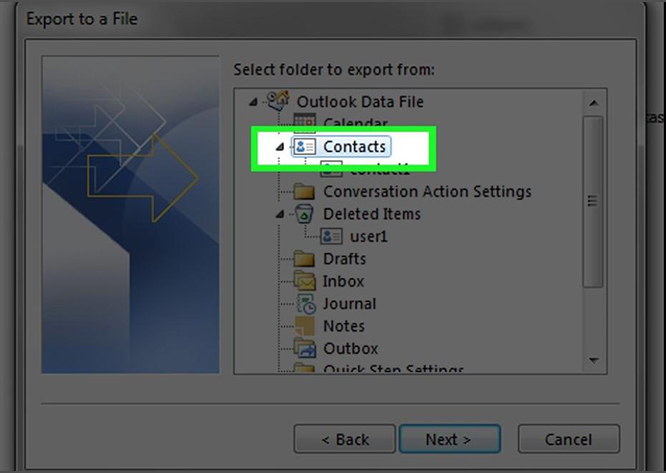
ステップ-4:選択”Contacts”Outlookアカウント名の下のフォルダをクリックし、”Next”.
ステップ-5: 次に、ファイルを保存する保存先を入力し、ファイル名を選択します。 “次へ”をクリックします。
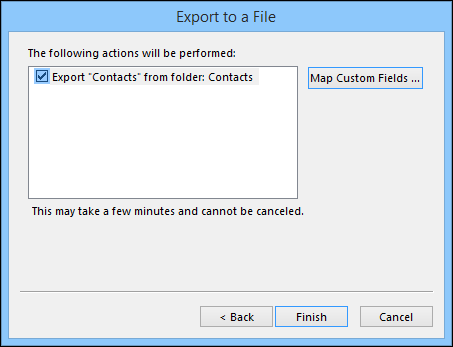
ステップ-6:チェックボックス”フォルダから連絡先をエクスポートする:連絡先”にチェックを入れてアクションを検証し、同じことをエクスポートす
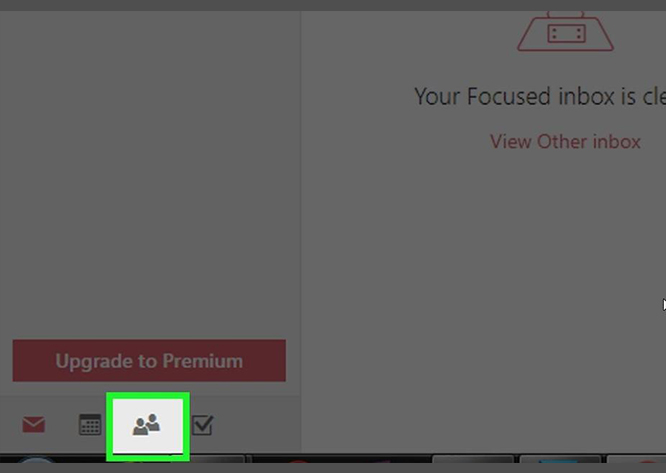
Microsoft Office365から連絡先をエクスポートする方法/Outlook.comステップ1:Office365アカウントにログインし、「アプリ」アイコンをクリックし、そこからOutlookを選択します。 Outlookに到達した後。comは、その後、左下隅にある”人”オプションをクリックしてください。
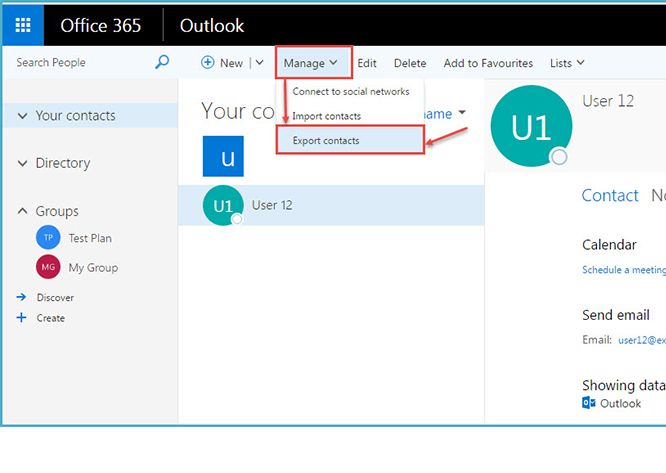
ステップ-2:その後、選択する必要があります”Manage”オプションと選択”Export Contacts”その下に。
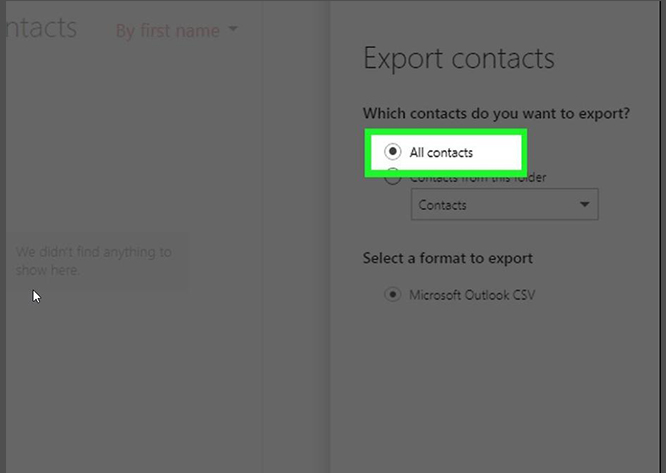
ステップ-3:選択”すべての連絡先”オプション,言う見出しの下に”どの連絡先をエクスポートしますか?”または連絡先フォルダ。 次に、ファイル形式を選択します。
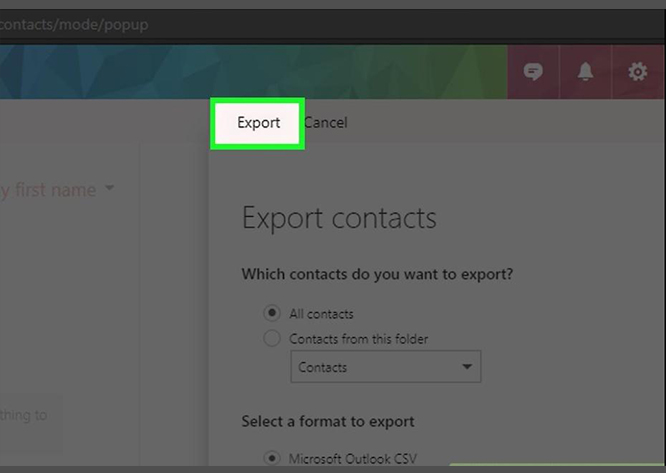
ステップ-4: [エクスポート]をクリックし、連絡先を抽出するダウンロード先を選択します。
Outlookから連絡先をエクスポートした後は、これらすべての連絡先をどこでも使用でき、外出先でも使用できます。
SalesHandyのようなアプリは、CSVファイルにエクスポートしたこれらの連絡先にパーソナライズされた大量の電子メールを送信するのに役立ちます。 さらに、最初のメールに最大9段階の自動フォローアップメールを設定することができ、差し込み印刷キャンペーンから最大返信率を得ることができます。
SalesHandyは、これらのキャンペーンの各メールのメール開封率、返信、リンククリック数を追跡し、アウトリーチを最大限に活用するための実用的なデータを提供します。